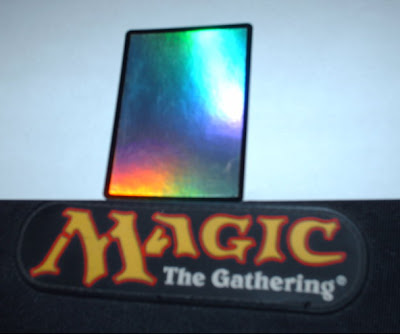
SECOND: Gather lots of destroyable Foil cards. I suggest any foil common from the "shards of alara" block. It maybe possible to find the "all foil" boosters for that set for a good price. if not, hit up Ebay or your local card shop and buy/trade for junk Shards of Alara foils.
Materials:
Junk SoA Foils (other sets can work, but SoA works REALLY well)
Scotch Tape or Painters Tape ($2)
disposable work surface (a piece of cardboard will work fine)
Acetone ($2-$6)
Scrap cloth (any soft cloth will work)
Printable overhead projector sheets (old school stuff, try online or your local office supply store)
spray adhesive ($4)
To start, you need to remove the ink off the plastic surface of the foil card.
WARNING: Be sure to work in a well ventilated area when working with Acetone. Wearing solvent proof gloves is suggested as acetone can dry out your skin with extended use. (my fingers became leathery after about 10 cards) Acetone is also VERY flammable, so smokeing/fire eating/metal grinding and similar activities are discouraged. Now that you can't sue me....lets continue.
- Use scotch tape to secure the card face up on your work surface.
- Soak a small part of the cloth in acetone (a little goes a long way)
- Start lightly rubbing the soaked material on the center of the card. After a few moments the ink will start coming off. work your way over the entire surface of the card being careful not to let Acetone soak into the edge of the card (if acetone get on the back of the card it will blur the ink)
- After doing several cards set them somewhere to air out (10 min is fine)
 | ||||
| You can save the black border by covering it with scotch tape before you remove the ink :) |
NOTE: There are SEVERAL YouTube videos on how to do this, I encourage you to check them out.
Now that you have your blank cards ready you'll need to print you images onto the projector sheets and glue them to your cards. The you tube link above explanes all the technical bits. Have fun!
ONE MORE THING: If you sell proxies.....WOTC can sue you.....the last guy they caught lost his birth day in the settlement. On the up side of the whole thing, he no longer ages.


